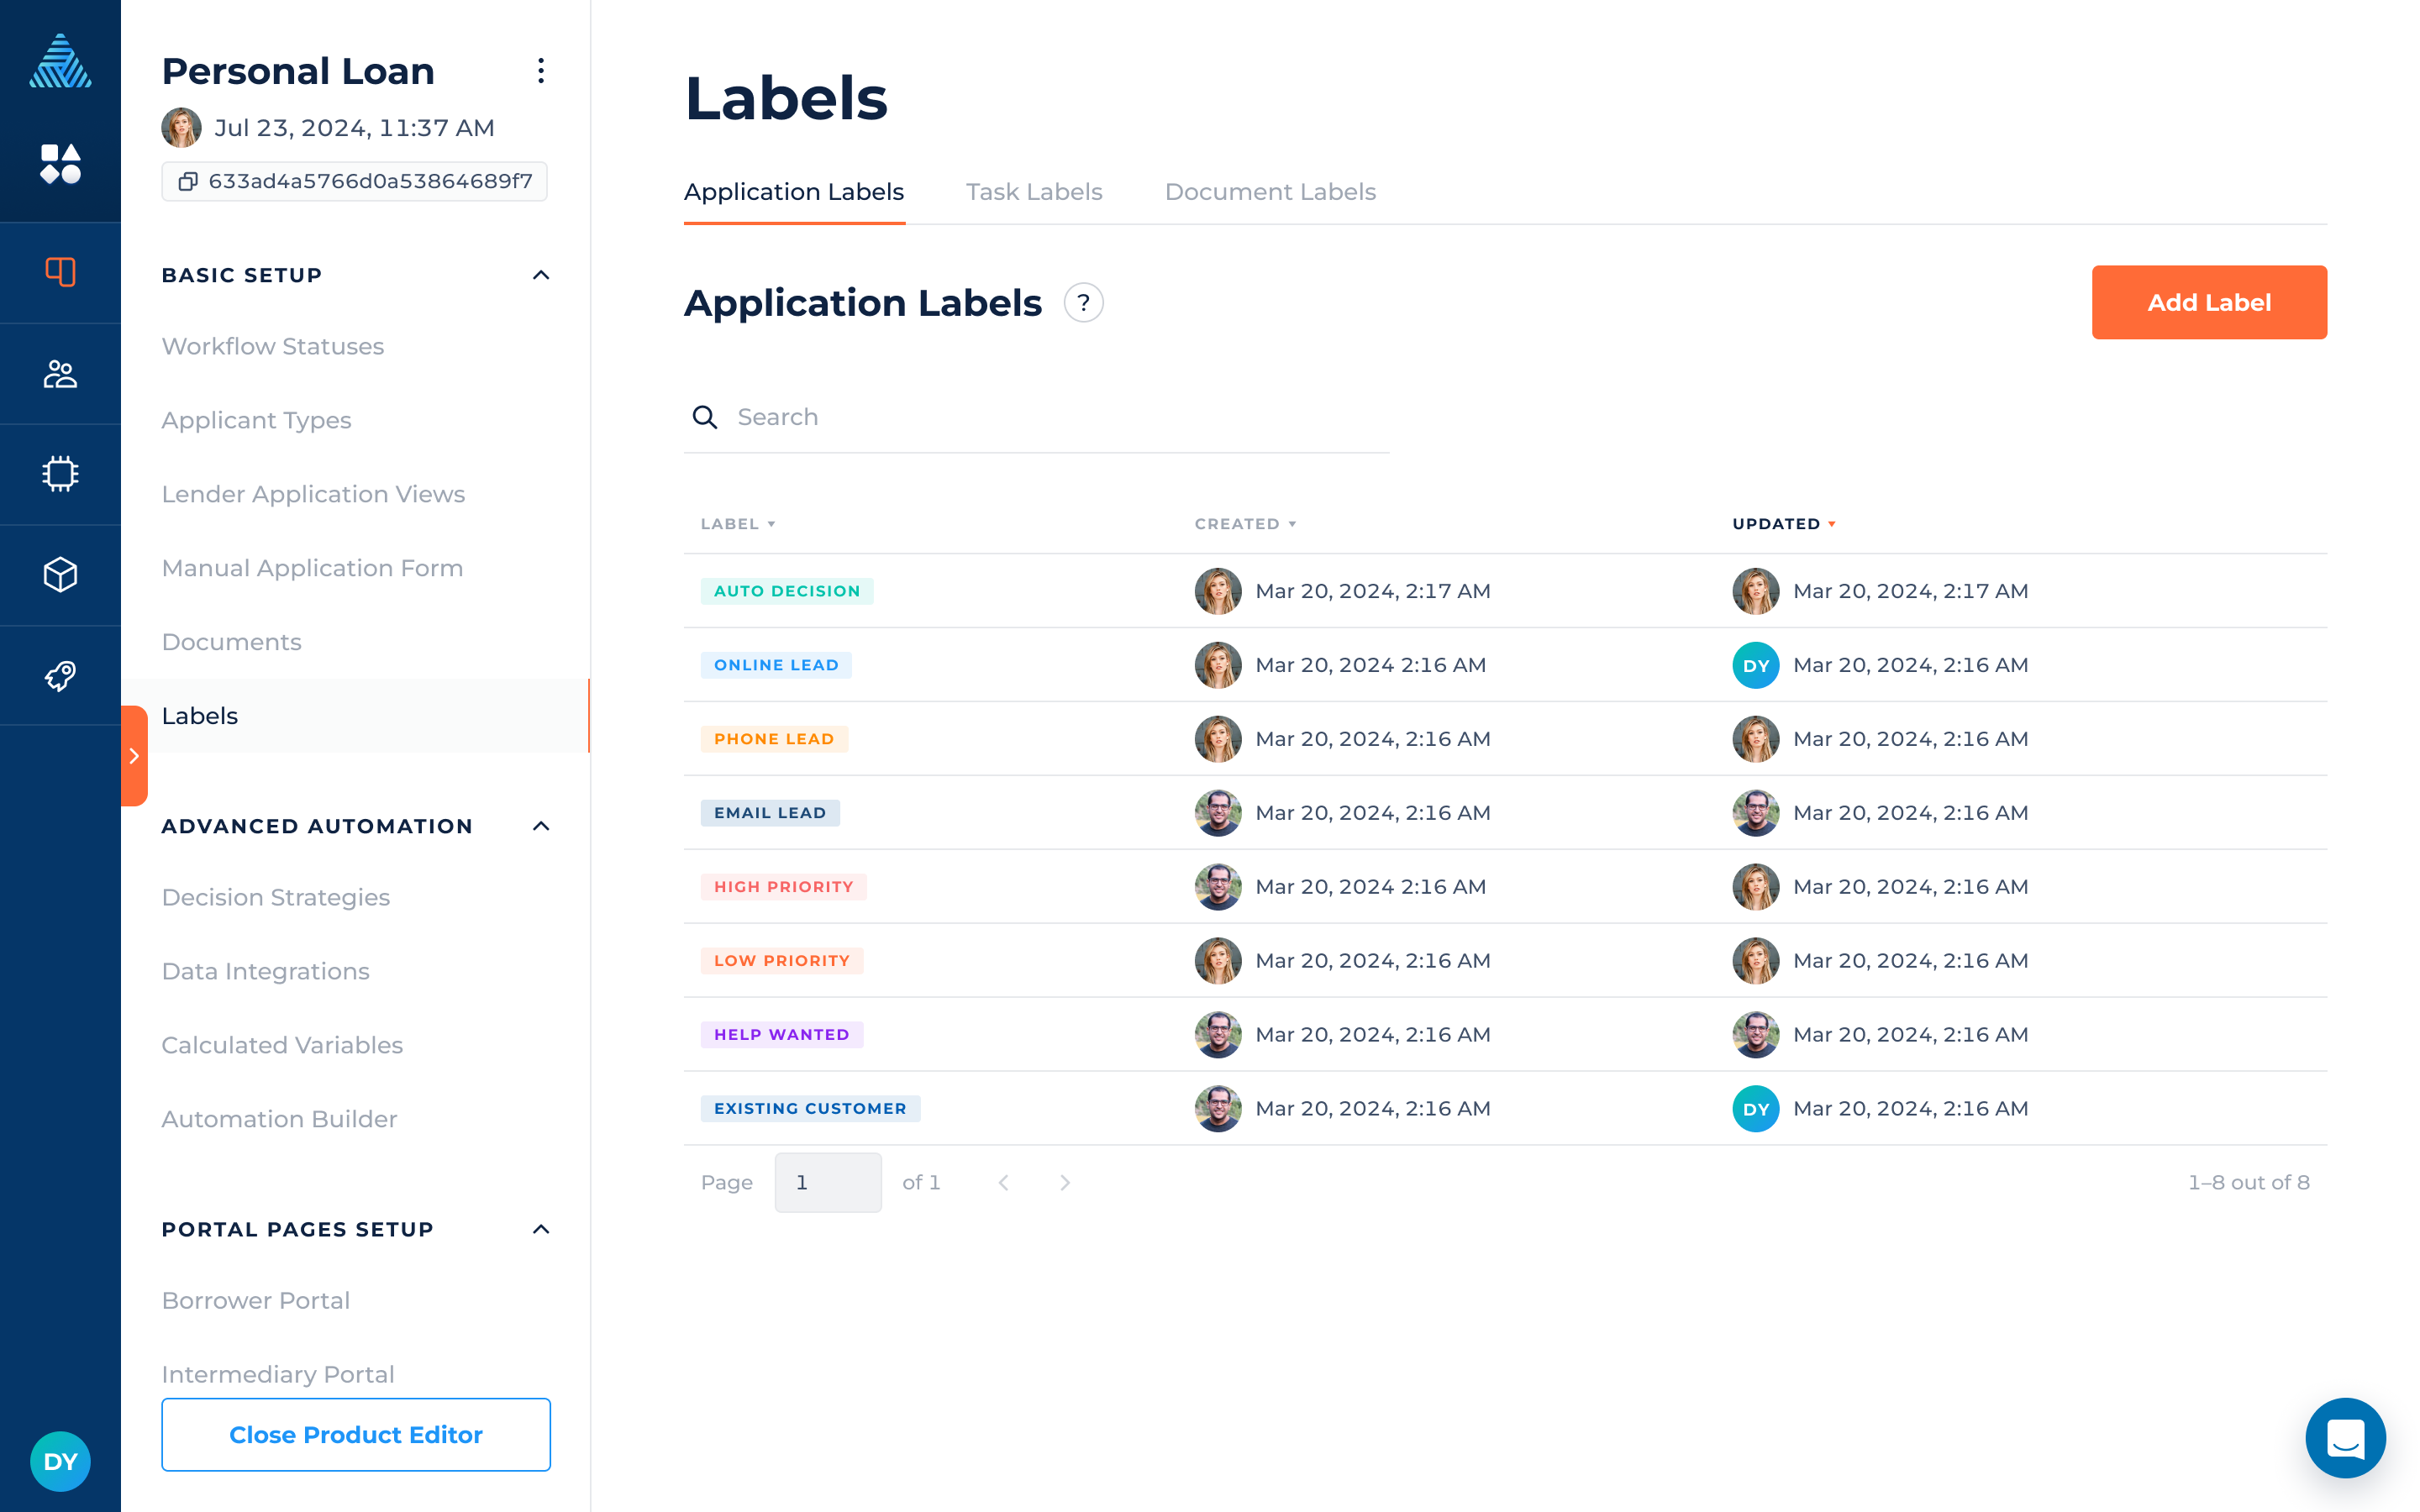
Labels
How to set up application and task labels.
Overview of Labels
Labels can be added to applications, tasks and documents to categorize them in a simple, visual way. Labels appear as small colored elements on the board or in the table view for applications, documents and tasks, and as larger colored text elements in the detail view when you click on a document, task or application.

How to Create a Label
To create a new label:
- Navigate to the "Application Labels", "Task Labels", or "Document Labels" tab.
- Click the "Add Label" button.
- In the popup, provide a label name and select a color.
- Click the "Save Changes" button.
Once labels are created, they can immediately be added to existing applications or tasks.
How to Edit a Label
To edit a label:
- Navigate to the "Application Labels", "Task Labels", or "Document Labels" tab.
- Click on the relevant row in the table.
- Edit the information in the popup window.
- Click the "Save Changes" button.
How to Delete a Label
To delete a label:
- Navigate to the "Application Labels", "Task Labels", or "Document Labels" tab.
- Hover over the relevant row in the table.
- Click on the 3-dots icon on the right side.
- Select "Delete Label."
Updated 5 months ago
