Borrower Portals
How to launch a standard digital lending portal through DigiFi.
Overview of Borrower Portals
DigiFi’s borrower portals provide your customers a modern, intuitive and branded online lending experience, including the ability to create accounts, submit applications, upload documents and complete tasks to advance applications.

The portals are web applications that can be launched directly from within the DigiFi platform, without any coding or technical expertise required. The portal will use your lending configurations, branding settings, custom domain, legal documents (e.g. Terms & Conditions), which can be set up in the platform to provide a seamless experience for your customers. Applications received through the borrower portal will appear in the DigiFi platform, enabling a full cycle of online application processing. In addition, the portals are optimized to be used from any device (computer, tablet and mobile phones).
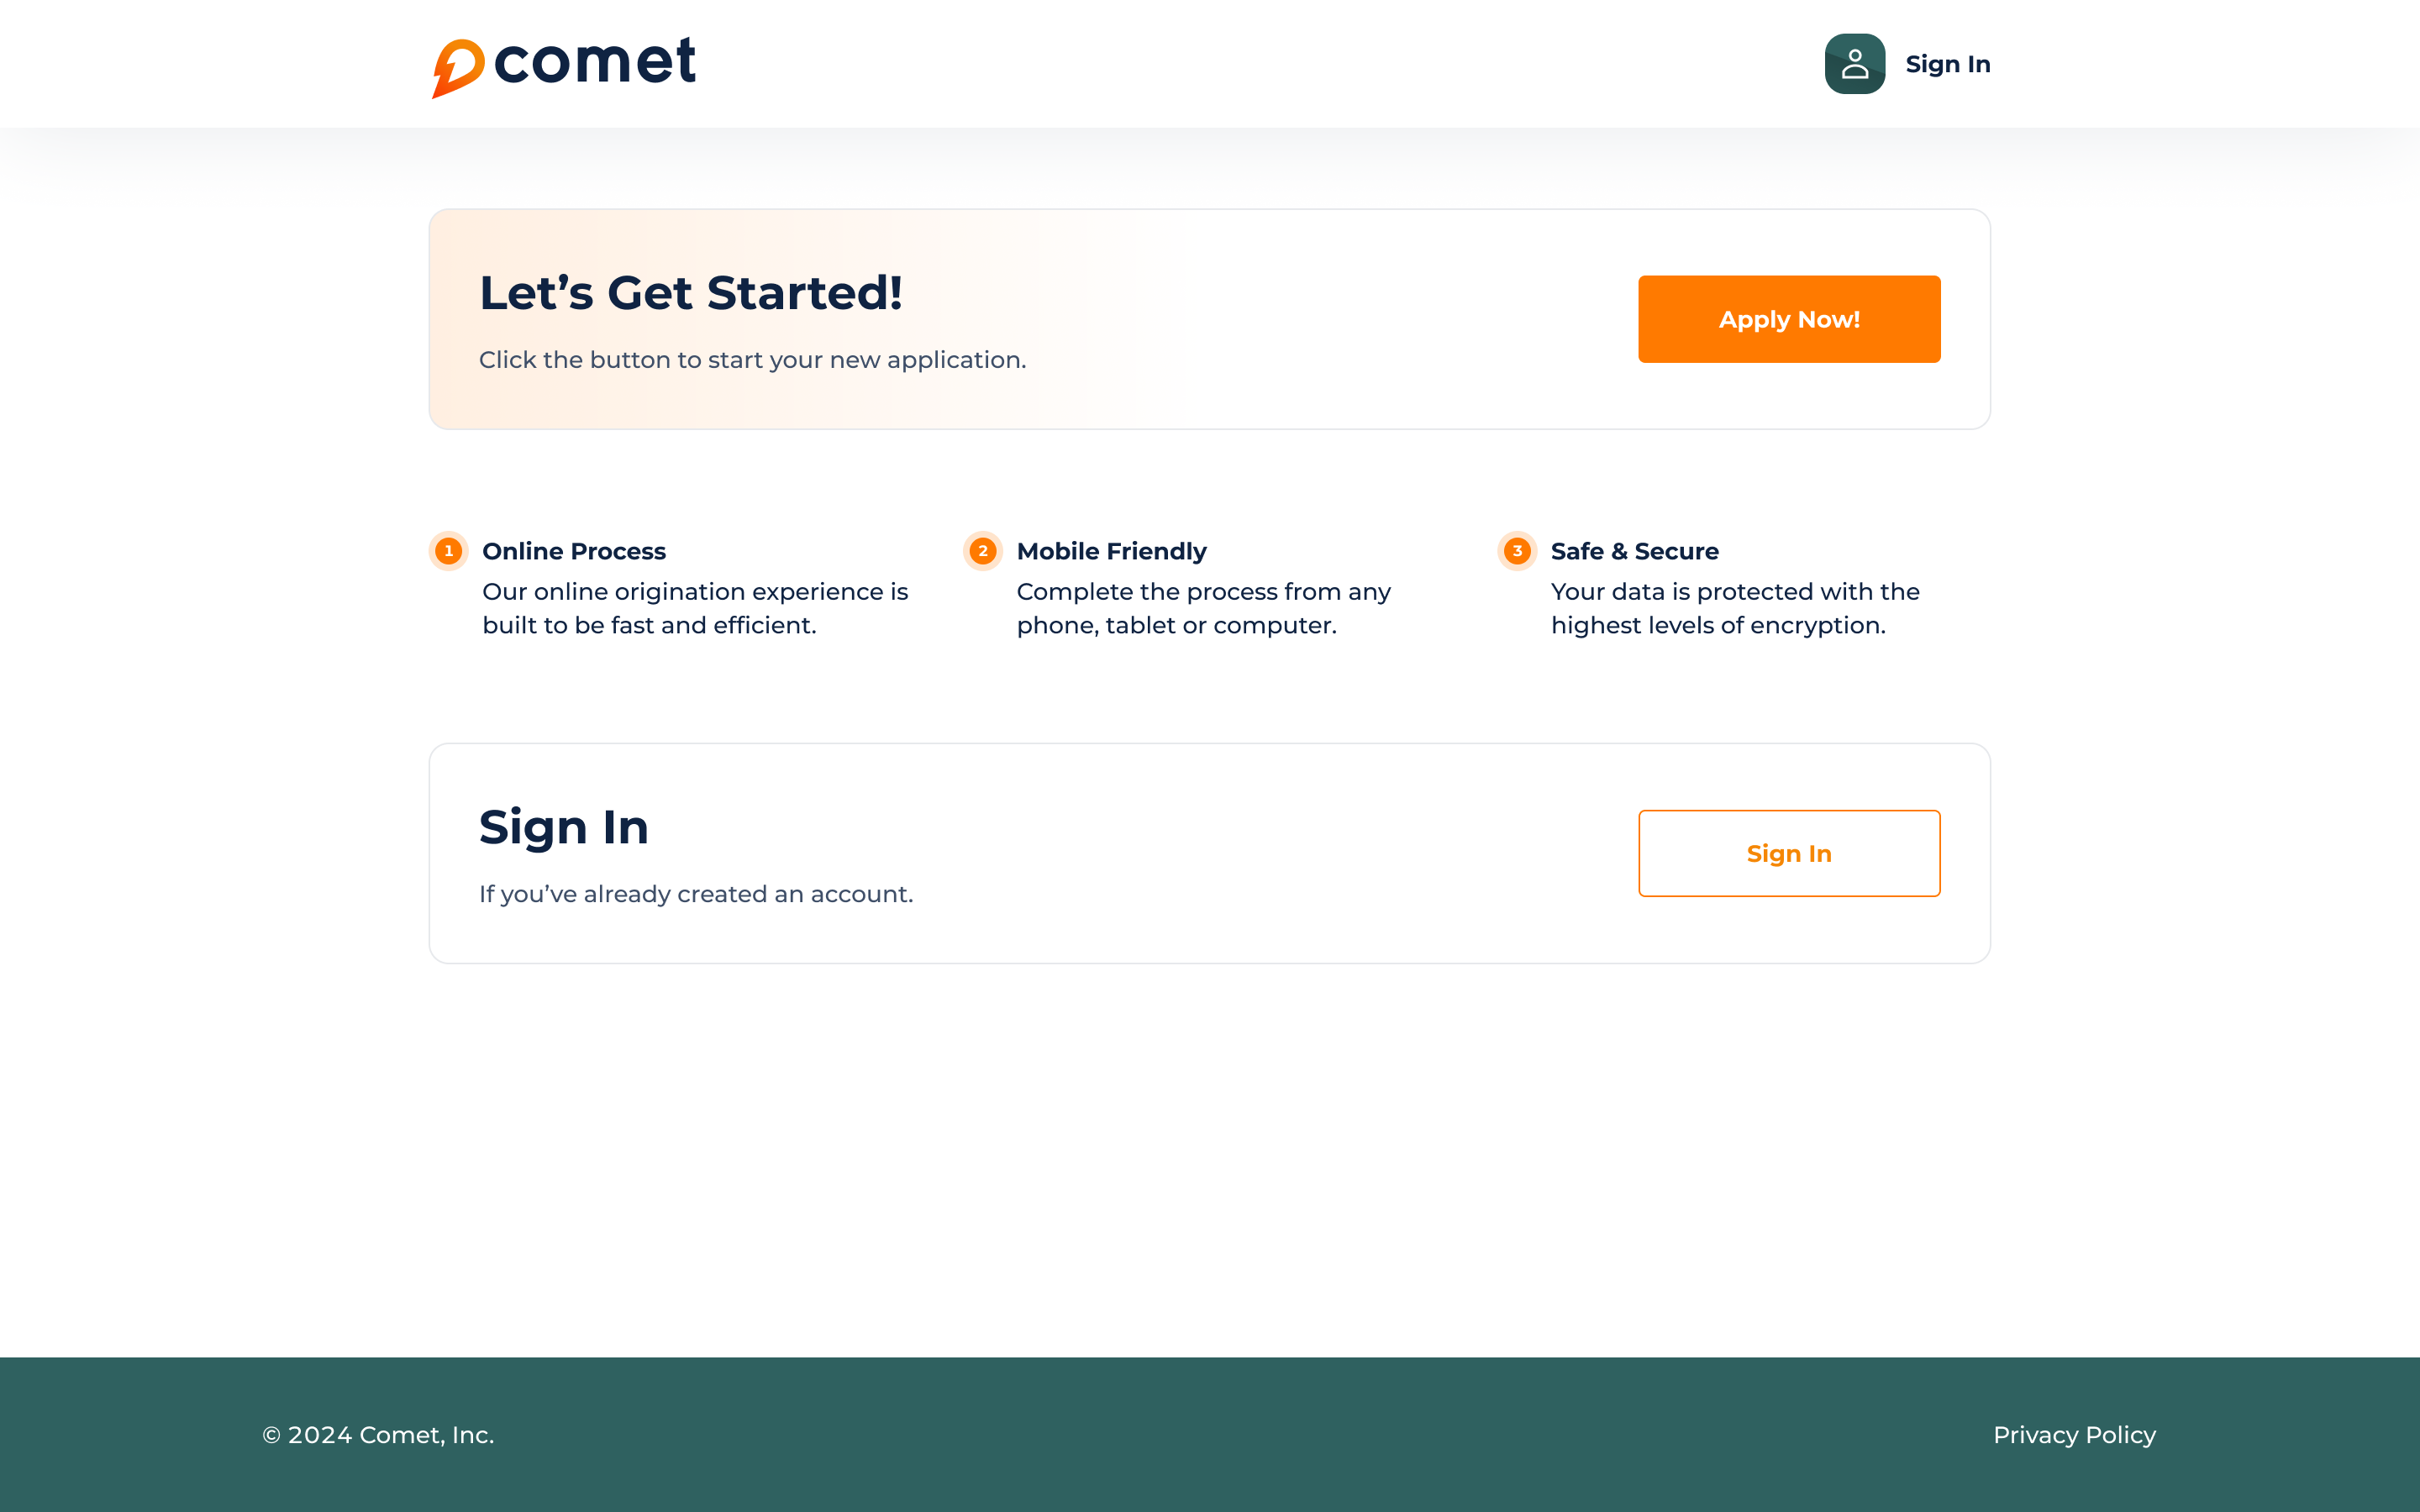
DigiFi's borrower portals let you instantly deploy a borrower-facing online lending experience with your own branding and loan products!
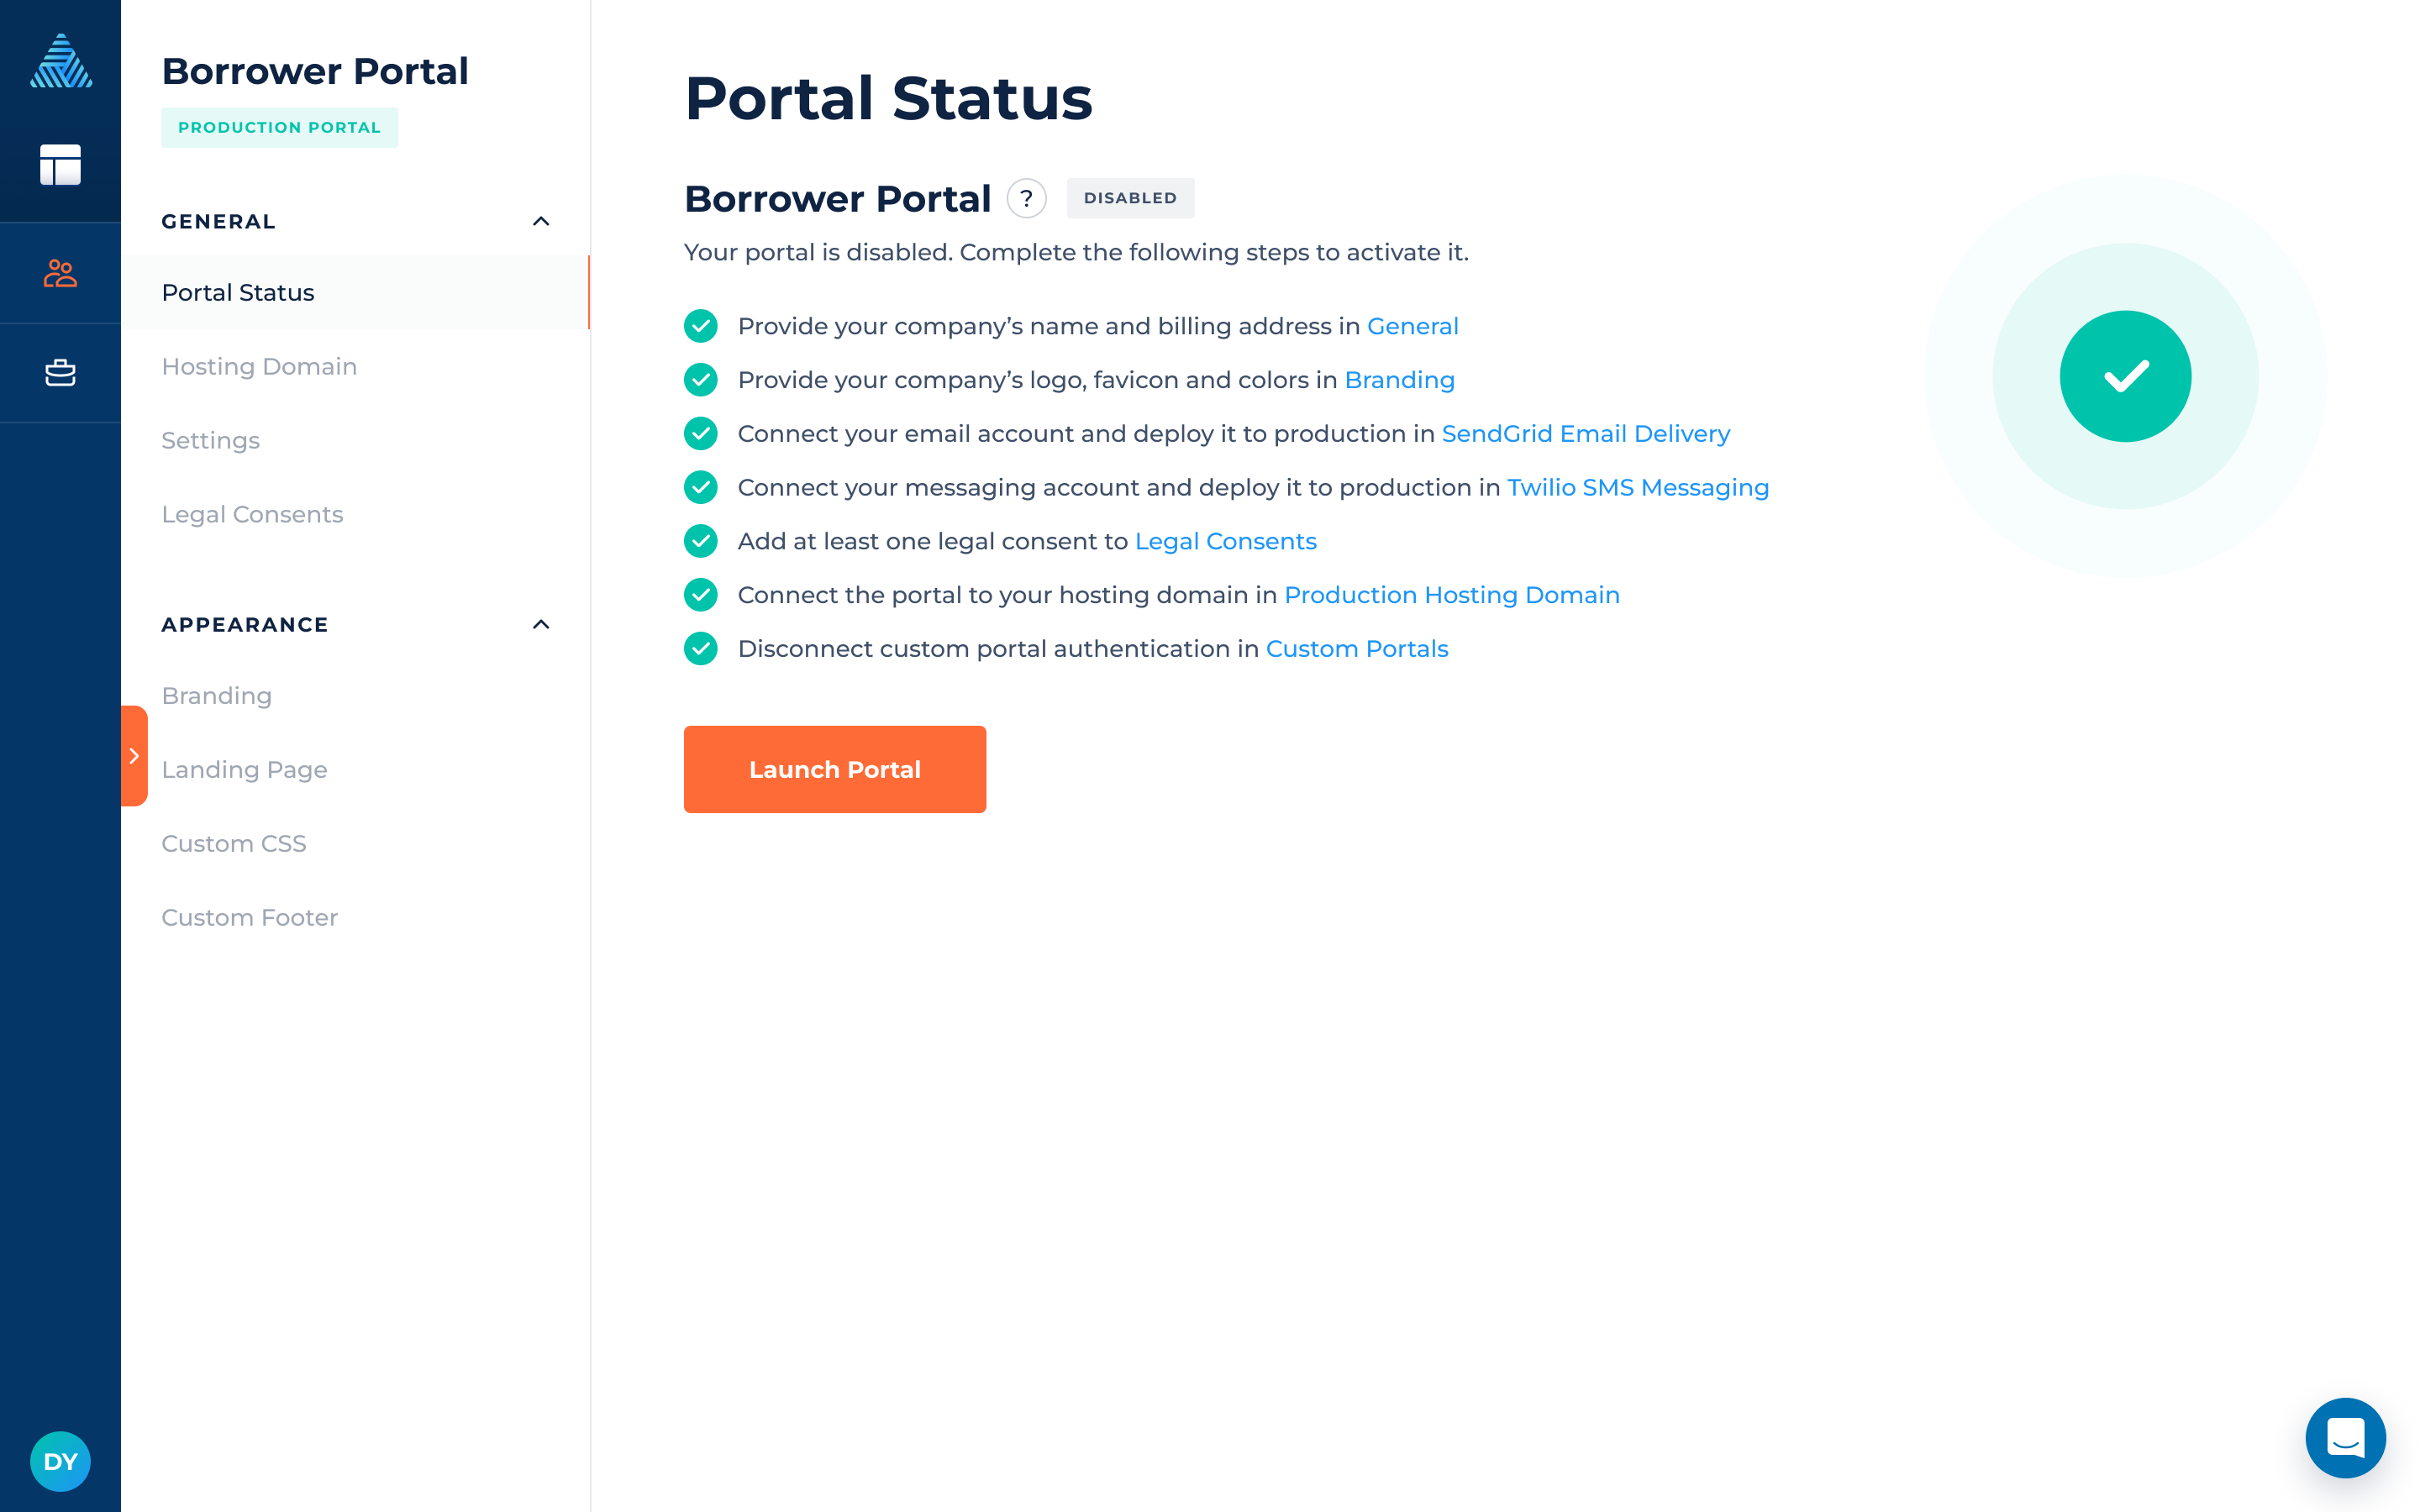
This section of DigiFi's user manual is for platform administrators that are setting up or managing the system. It covers key elements of borrower portal configuration, including how to:
- Configure, launch and disable the portal
- Manage general settings
- Add legal documents
- Configure your portal domain (e.g. https://portal.yourbankname.com)
Launching Your Borrower Portal
To launch your portal, first navigate to the "Portal Status" page. This displays the actual portal status (which will initially be disabled) and lets you view the steps that must be taken before portal can be launched.
Launching your portal requires completing 8 steps:
Step 1: Company Information
The first step requires ensuring that your basic company information, including Company Name and Legal Address, are correct. These will be used throughout the borrower portal, including in the portal itself and emails, and should be accurate. To update your company information, navigate to the Plan & Billing page.
Step 2: Portal Branding
The second step requires you to provide your logo, favicon and brand colors from the Branding section of DigiFi's platform. This allows you to customize the look and feel of your portal - make it your own and make it look great!
Step 3. Connect Email Account
DigiFi's borrower portal includes emails to your borrowers. For example, borrowers receive an email when tasks are assigned to them. These emails must be delivered from your email domain for both legal reasons and to ensure a seamless borrower experience.
Our platform includes an integration with SendGrid, which is part of Twilio (a public company) and is a leading provider of automated email delivery. If you don't already have a SendGrid account, you'll need to make one and connect it to DigiFi as described in the SendGrid Email Delivery section of our user manual.
Once you've connected your SendGrid account, emails will automatically deliver from your domain and configurations in SendGrid, creating a completely seamless experience for your customers.
Step 4: Add A Loan Product
Before you can launch your portal, you must add a loan product, which contains all the information about the product that borrowers will be able to apply for through the portal (including the application form, required documents to upload, tasks to complete, etc.).
Loan products are core to both DigiFi's Loan Origination System and Borrower Portal, and detailed information about setting up your loan product(s) can be found in the Loan Products section of this user guide.
Step 5: Add Legal Documents
DigiFi's borrower portals let you add legal documents (e.g. Term & Conditions, Privacy Policy, Truth In Lending, etc.) which appear in the portal's footer, and also add legal documents that the borrower must consent to when they submit new applications. These legal documents can be fully configured through the use interface from the "Portal Settings" page. At least one legal document must be added before you can launch the borrower portal.
To add a legal document:
- Click the “Add Legal Document” button.
- Provide the document's name and body text
- Switch the toggles the determine whether the document will appear in the website's footer and/or when they submit new applications.
- Click the “Add Document” button.
To delete a legal document:
- Hover over the document's line in the table.
- Click on the 3-dots and select "Delete Legal Document".
- A popup window will open in which you can confirm that you want to delete the document.
Step 6: Connect Your Hosting Domain
The borrower portal must be hosted at a web domain that you provide. The “Hosting Domain” page lets you connect the portal to a subdomain of your main website and provide your borrowers a seamless branded experience.
We suggest https://loans.yourdomain.com or https://portal.yourdomain.com!
To connect the standard portal to the custom domain:
- Provide the subdomain name.
- Click the “Add Domain” button.
- Visit the admin console of your domain registrar and add a record to your DNS settings, selecting CNAME as the record type (you may need to contact someone in your IT department for this).
- Copy the host and target values generated by the DigiFi platform into your DNS settings.
- Refresh the webpage.
- DigiFi automatically triggers verification of the domain ownership. If verification passes successfully, you will see the status “Connected”. This often takes a few minutes, so please be patient!
If we're not be able to confirm the CNAME, you will see the status “Issues Detected” and an error message. Please contact us if you need help connecting the borrower portal to your subdomain.
Step 7: Disable Custom Portal
This is usually not a required action, however if you previously connected a custom lending portal to DigiFi's authentication, you'll need to revoke this. Navigate to the "Custom Portals" section of the platform and disable it.
Step 8: Launch Portal
After you have completed all the steps, the portal's status will change from “Disabled” to “Ready to Launch”. To run the portal deployment click the “Launch Portal” button. A pop-up window will open in which you can confirm that you want to launch the portal or go back to the “Portal Status” page.
It typically takes a few minutes to launch the portal. Once it has launched, you'll see links to the "Create Account” and “Sing In” pages, which you should direct borrowers to from your main website!
If your portal does not launch within 10 minutes or you receive an error message, please contact us for assistance.
Invite Your Borrowers
Once your portal is launched you'll be able to send borrowers to it create accounts, submit applications and complete the loan origination process online. Once your borrowers create accounts they will be able to apply online, manage their applications and update their personal data.
The portal is secure and requires a password, email verification and phone verification from every borrower. Two-factor phone authentication (or "2FA") is an additional layer of security for the borrower account and helps to prevent unauthorized access. We'll send a text message to the borrower's mobile phone with an authentication code every time they attempt to sign in.
Borrowers can self-register in the Borrower Portal using the “Create Account” link you'll see after your portal is launched. After they've registered, they can submit applications by completing the application form you set up for your loan product.

Updated 9 months ago